


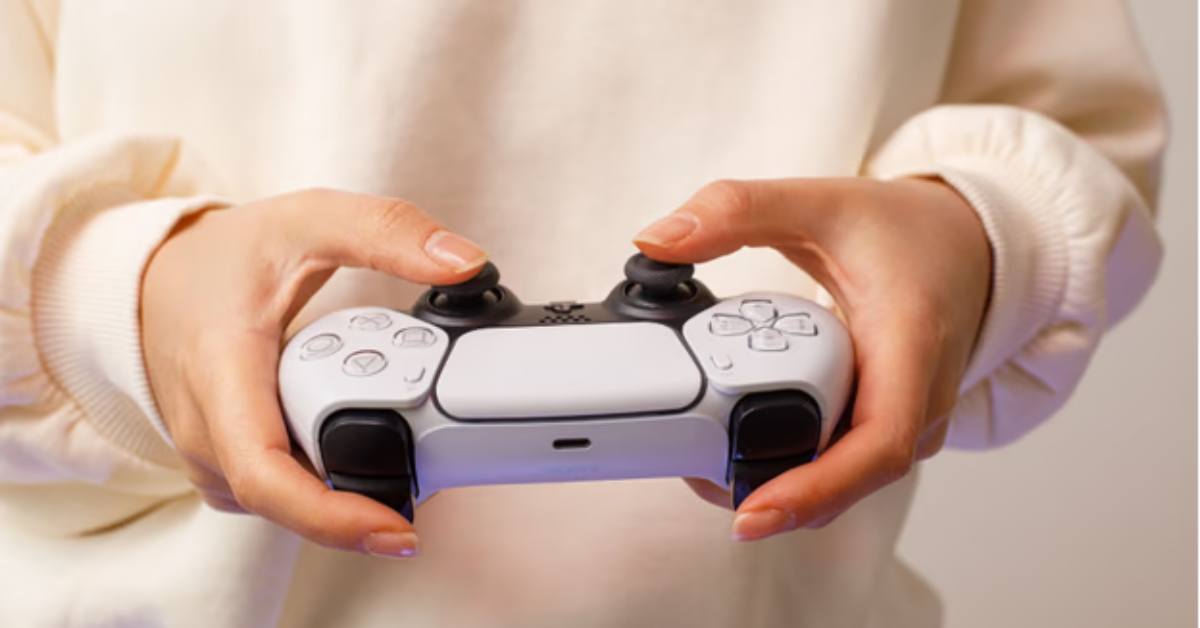
If you’re an avid gamer, you might have encountered the infuriating issue of stick drift on your PS4 controller. Stick drift occurs when your character or the camera starts moving without you even touching the controller.
It can be a major buzzkill during intense gaming sessions, but fear not! In this guide, we’ll walk you through various troubleshooting steps and solutions to fix stick drift on your PS4 controller, whether it’s the official Sony DualShock 4 or a third-party controller. Let’s dive in!
Causes of PS4 Controller Drift
Before we delve into the fixes, it’s crucial to understand what causes PS4 controller drift. There are primarily two culprits:
- Dirty Analog Sticks: Over time, dust and grime can accumulate within the analog stick, leading to erratic movements.
- Damaged Analog Stick or Potentiometer: Wear and tear from frequent gaming can damage the analog stick or its associated potentiometer, resulting in drift.
Troubleshooting and Solutions
Here are step-by-step solutions to help you get your PS4 controller back in top shape:
1. Reset Your Controller
- Turn off your PlayStation console.
- Locate a small hole on the back of your controller.
- Use a paperclip to press and hold the reset button in the hole for 5 seconds.
- Connect the controller to your PlayStation via a USB cable.
- Power on your PlayStation and wait for it to boot up completely.
- Press the PlayStation button on your controller to reconnect it to your console.
Resetting your controller can resolve various issues, including stick drift. If the problem persists, move on to the next step.
2. Clean Your Controller
- Apply a small amount of cleaning alcohol to a cotton swab.
- Gently clean the analog joysticks thoroughly, ensuring you reach all areas.
- Move the joysticks left and right to access hidden dirt.
- Using compressed air, carefully spray around the joystick (maintain some distance to prevent freezing).
Cleaning your controller can remove dirt and debris that might be causing the drift. If the problem lingers, proceed to the next solution.
3. Press the Analog Sticks
- Press and hold both analog sticks for 10 seconds.
- While holding them, blow into the openings you’ve created.
- Rotate both joysticks clockwise for 10 seconds.
- Rotate both joysticks counter-clockwise for 10 seconds.
- Keep the analog sticks up (forward) and click them in.
Pressing the analog sticks can recalibrate them and potentially resolve the drift. If the issue persists, it’s time to consider the final solution.
4. Replace Your Analog Sticks (Advanced)
Replacing the analog sticks is a more advanced solution, and it’s recommended for those comfortable with electronics and soldering. Here’s how:
- Unscrew the small screws on the back of your controller.
- Carefully open your controller and disconnect the battery.
- Remove the screw from the motherboard and extract it from your controller.
- Desolder the potentiometer and remove it from the motherboard.
- Install the new potentiometer, ensuring proper soldering of the contacts.
- Reassemble your controller.
Please note that attempting to replace analog sticks will void any remaining warranty. If you’re not confident about this procedure, consider seeking professional repair services or simply purchasing a new controller as a more straightforward solution.
Conclusion
Dealing with PS4 stick drift can be a frustrating experience, but with these troubleshooting tips and solutions, you can regain full control of your gaming experience. Remember, stick drift often becomes a persistent issue, and in such cases, replacing the analog sticks or opting for a new controller may be your best bet. Happy gaming, free from the annoyance of stick drift!